I really enjoy seeing the steps of work in progress, so I thought I'd share what I'm working on currently.
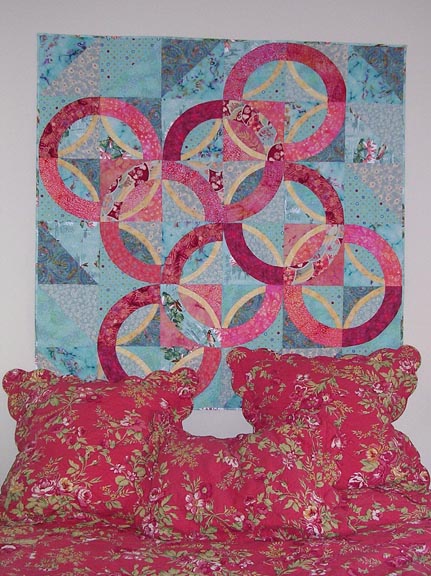
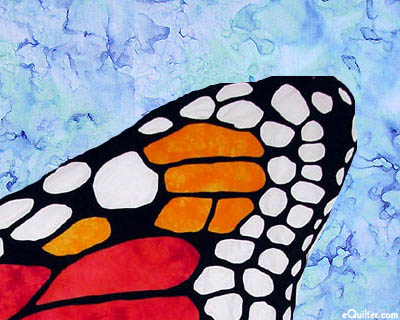
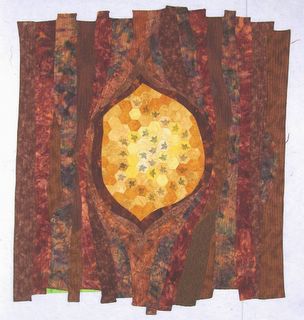
A few months ago, I made this block for my art quilt group's exchange block project.
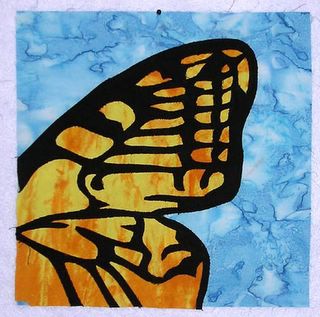
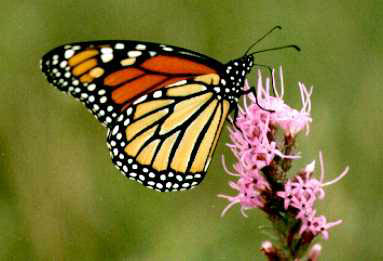
It's about 10 inches square. I liked it so much that I wanted to try making something like it only really big. So, I found a photo of a butterfly to work with. Here it is:
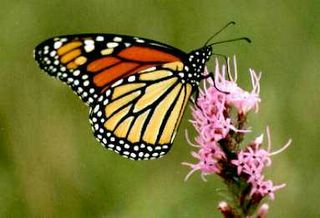
I adjusted it with Photoshop by cropping it and tilting it, just to make it easier to work with:
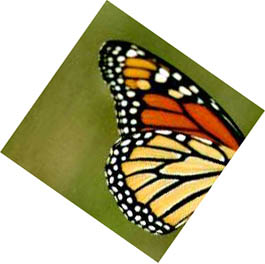
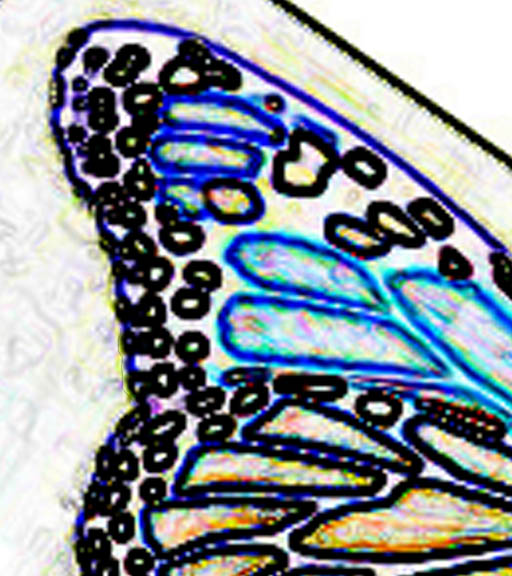
Then, still using Photoshop, I used a filter to find the edges of the shapes and came up with this:
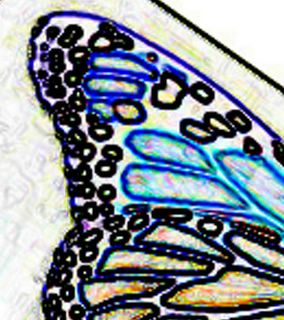
I made this the large size I wanted (about 45 inches square), then printed it out on separate pages. When I taped them together, this is what it looked like:
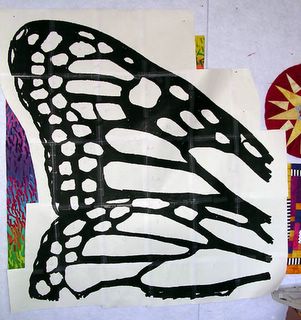
From this point on, I used a technique I learned from
Julie Hirota. (She describes this technique in detail in her new book,
Art Glass Quilts.) Basically, I taped pieces of freezer paper together to make a large solid piece this size, and then traced the shape onto freezer paper. Then, I ironed the freezer paper onto Pellon ShirtTailor fusible interfacing, and cut out the white spaces, leaving just the part that shows as black here. I ended up with a lacy piece of interfacing to use as the template for the black wing structure. (Sorry, I got involved in these steps and didn't take pictures.)
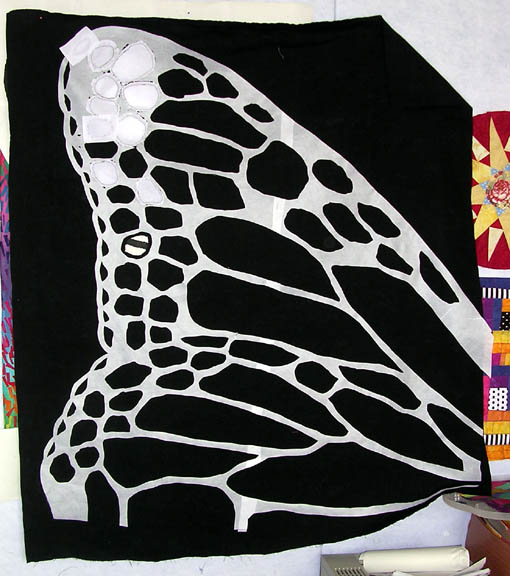
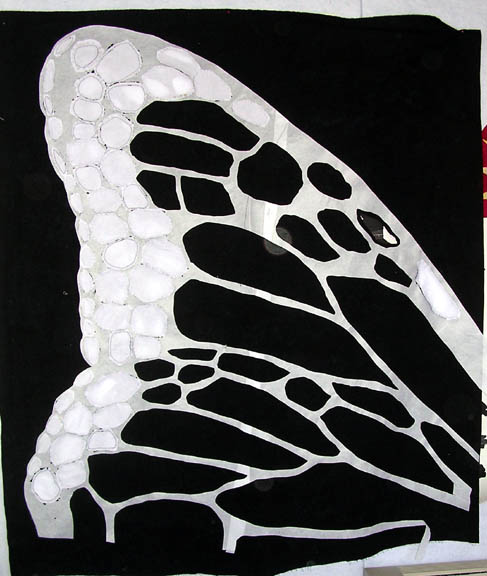
Then, I fused the ShirtTailor "lace" onto black fabric, so the result looked like this:
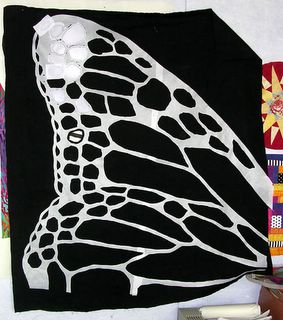
Then, I was ready to reverse-applique the colors into the blobs that show here as black. You can see that in the upper left corner of the wing, I've already appliqued some of the white dots. I used the applique technique from Julie too. I cut away the center of the splotch, leaving about a quarter-inch around. I clipped the curves, dabbed spray starch onto then, and then pressed the edges open...Here's where the ShirtTailor does its best work, because the stiff edge of the interfacing supports the edge as it folds back, and creates a nice clean edge. Then, using Roxane's Glue-Baste glue (you can also use a glue stick) I laid the white fabric over the black outline (on the backside) to hold for later machine applique stitching.
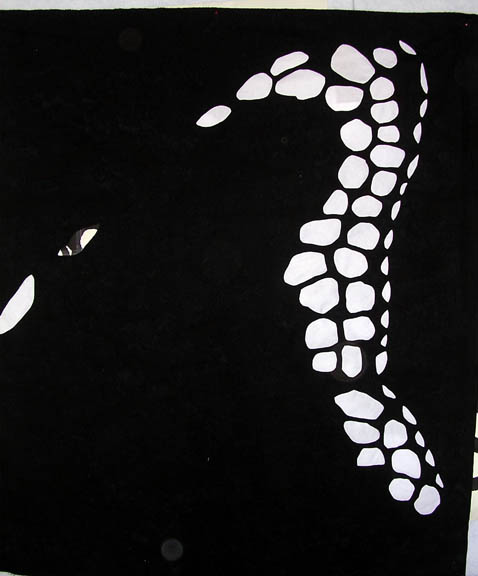
Here's what the back looked like after I did a lot of the white pieces. I decided to do all of the white (which was tedious) and then reward myself with the large areas of bright colors.
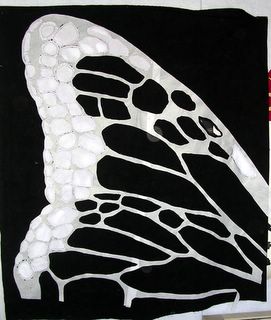
And here's what it looked like from the front at that point:
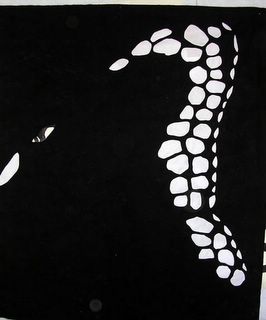
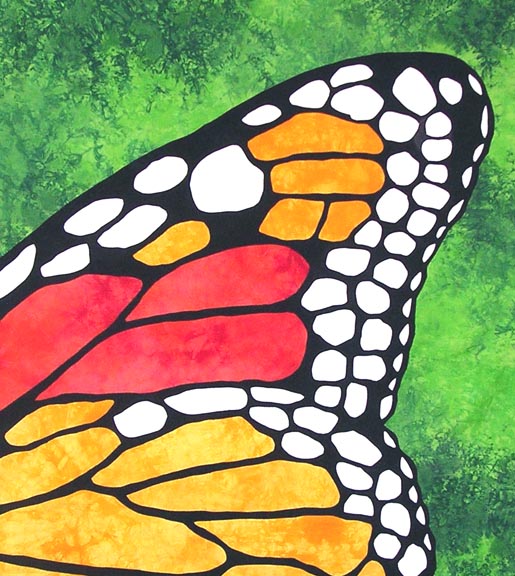
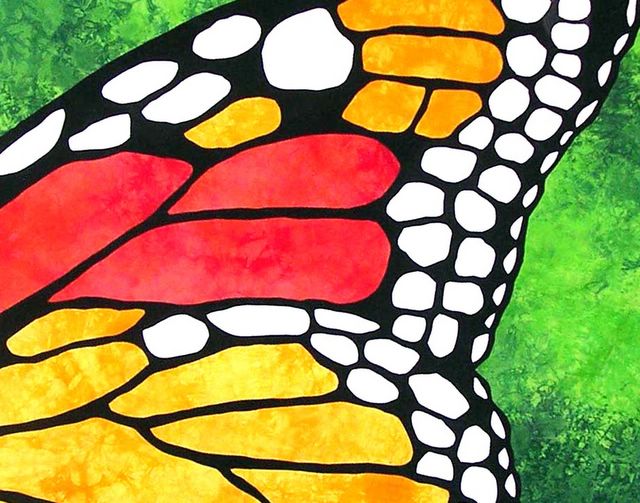
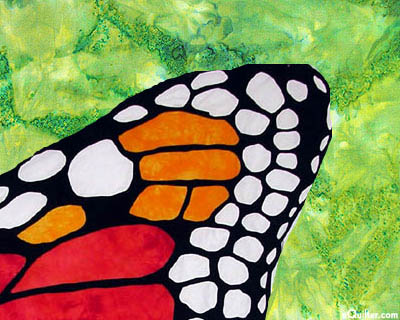
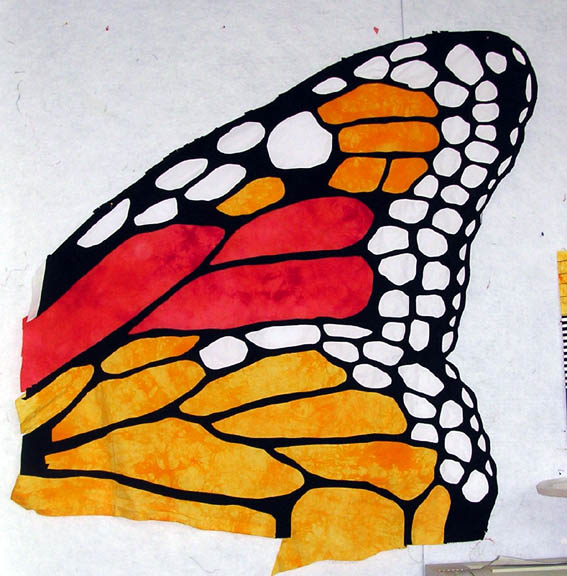
And here's the finished wing, with the colors filled in with fabric I dyed myself! This is the first time I've used something I've dyed, so it was rather exciting to cut into it and apply it.
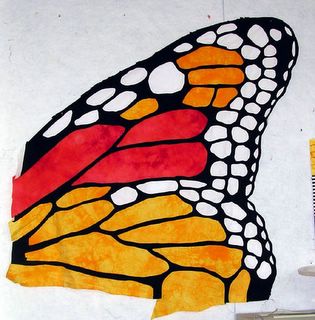
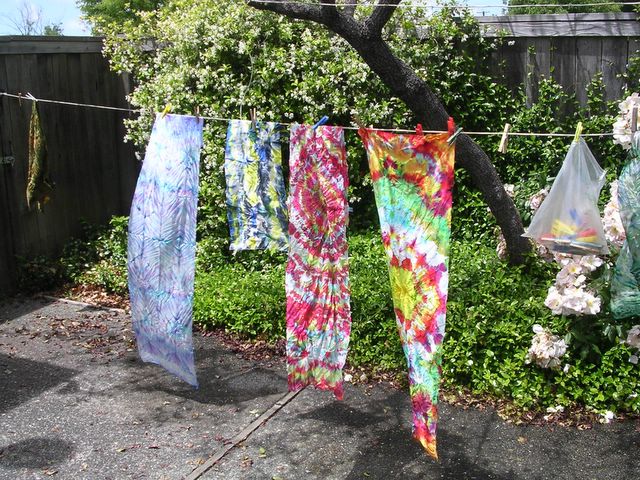
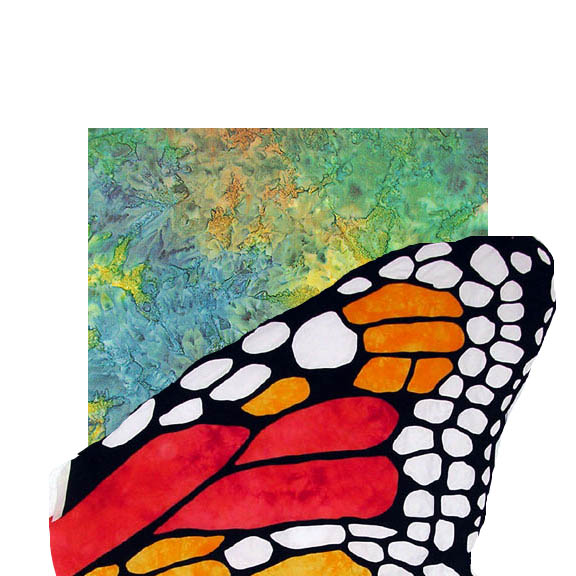
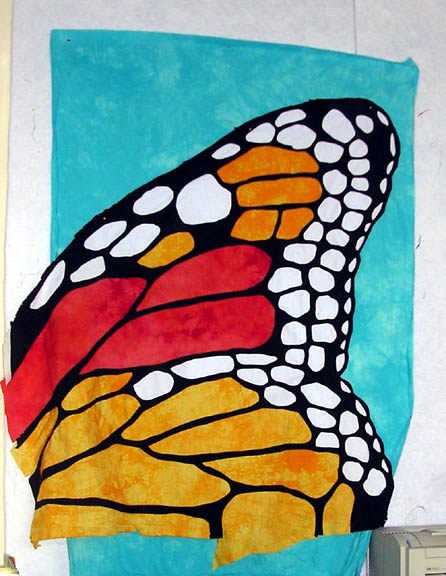
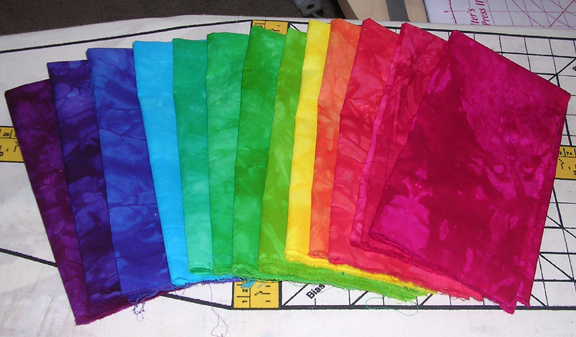
Looks cool, huh? Now I just have to attach it to a background. I'm undecided. I wanted to use a sky-ish blue, as I did in the small block. I tried dyeing a piece, but it's too turquoise:
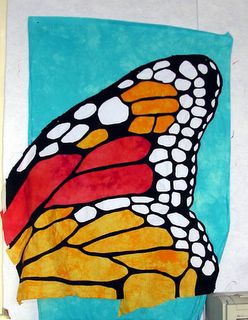
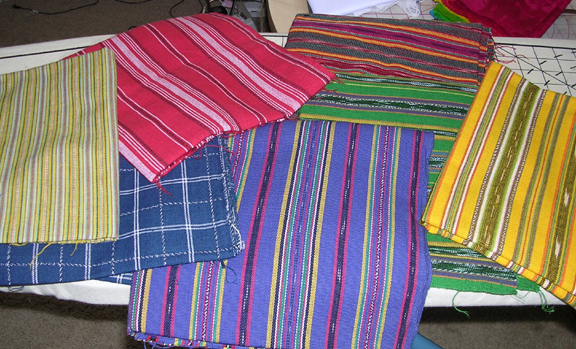
Plus, the background is too flat...not enough texture. I tried another piece ---
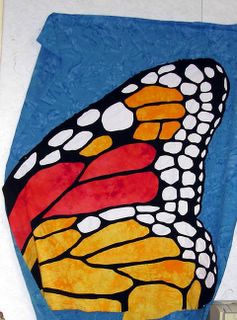
But it's too dark. So it's sitting on the design wall, waiting for the right background. Maybe green, to look like background foliage? Maybe something pieced? Or a fused collage look? I'm not sure and will mull it over.